Introduction: The Power of a Picture
When someone’s scrolling through hundreds of handmade pieces, your image is what makes them stop.
Or scroll past.
But here’s the good news. You don’t need a fancy setup, expensive gear, or a perfect backdrop. You just need a system and a few tricks that make your work shine online.
This content is part of the Madeit Masterclass: Introduction to Product Imagery
💛 Let’s Take the Fear Out of It
We know product photography can feel overwhelming. And yes, we’ve all taken a quick snap in the car or on the kitchen bench at some point.
This isn’t about being perfect. It’s about helping customers clearly see what makes your work special. Clean, clear, and confident is the goal.
🎯 The Three Keys to Strong Product Imagery
These are the three things we focus on when reviewing imagery at Madeit:
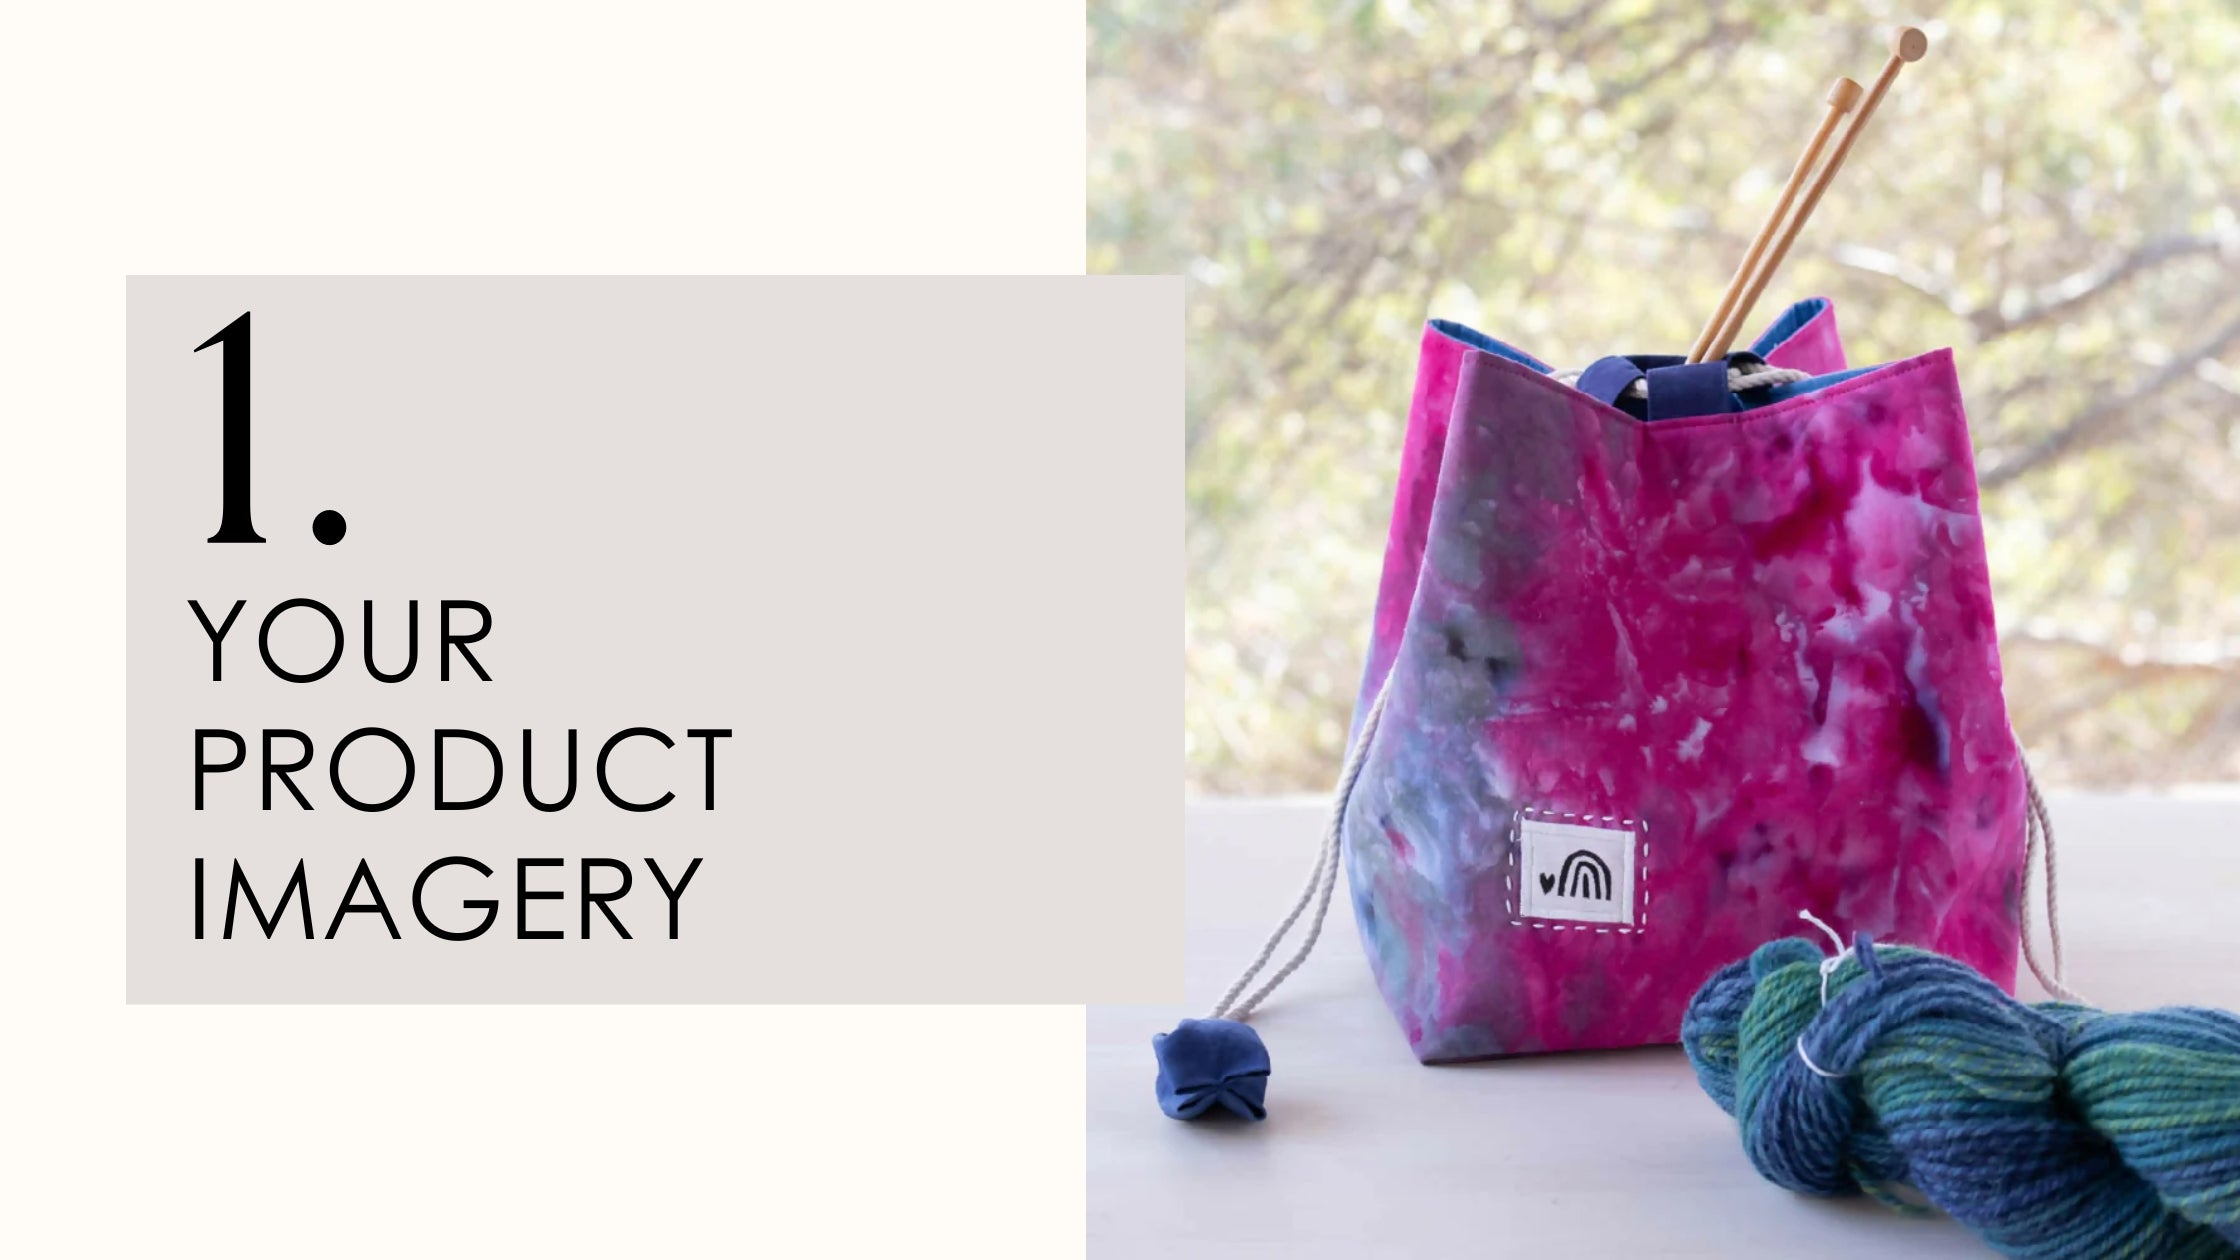
Crisp – no blur, no guesswork
Clean – no clutter, no distractions
Bright – natural, even lighting that makes your work pop
If your photo does those three things, you’re off to a great start.

🔍 So Where Do You Start?
Before you even pick up your phone, start with research.
It’s not the most glamorous part of the process, but it’s one of the most powerful. It helps you figure out what works and what resonates with you (and your customers).
🧭 Where to Look for Image Inspiration
Scroll with purpose. Spend 10–15 minutes looking at photos of similar products and take notes on what stands out.
Here are three easy starting points:
Pinterest: Search product photography, moodboards, and flat lays
Instagram: Check out other makers or hashtags like #madeitau
Google Images: Try search terms like 'handmade ceramic mug images' or 'handmade jewellery'
❓What Should You Look For?
Ask yourself:
-
What catches your eye right away?
-
Is it the light? The mood? The angle?
-
Is the background clean or styled?
-
Could this suit your own brand and products?
🗂️ Keep a Visual Folder
Start a Pinterest board, Instagram collection, or folder on your phone to save your favourites.
These will become your go-to references the next time you’re setting up a shoot.
🌿 What’s Next?
In the next blog, we’ll look at natural lighting, backgrounds, and how to get that clean, simple look that works beautifully on Madeit.
👉🏼 Download our Free Product Image Checklist here
👉🏼 Check out Introduction to Product Imagery Masterclass.


